|
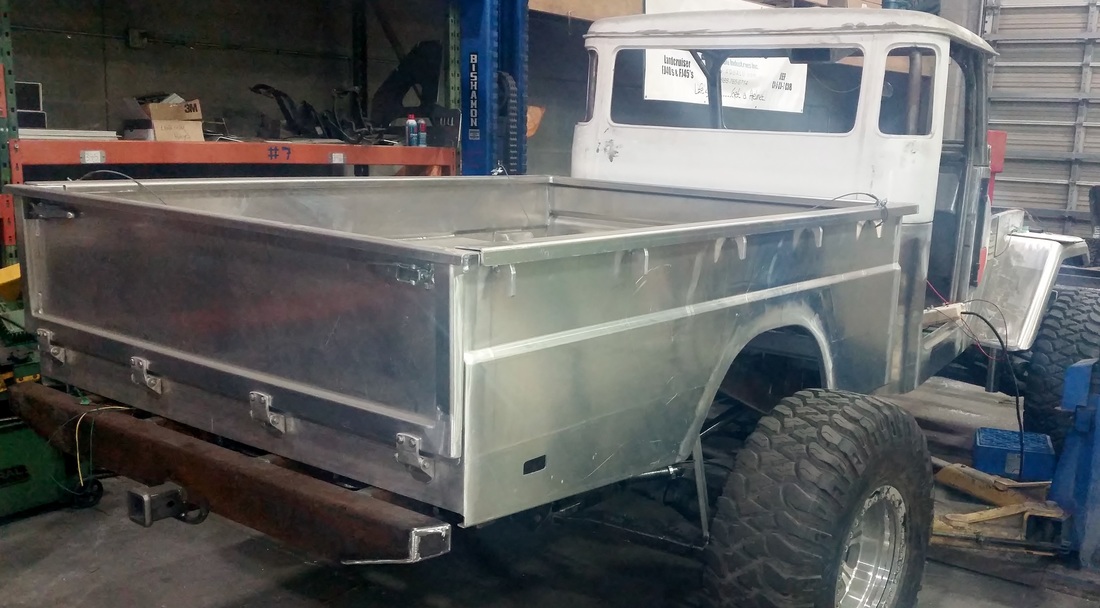
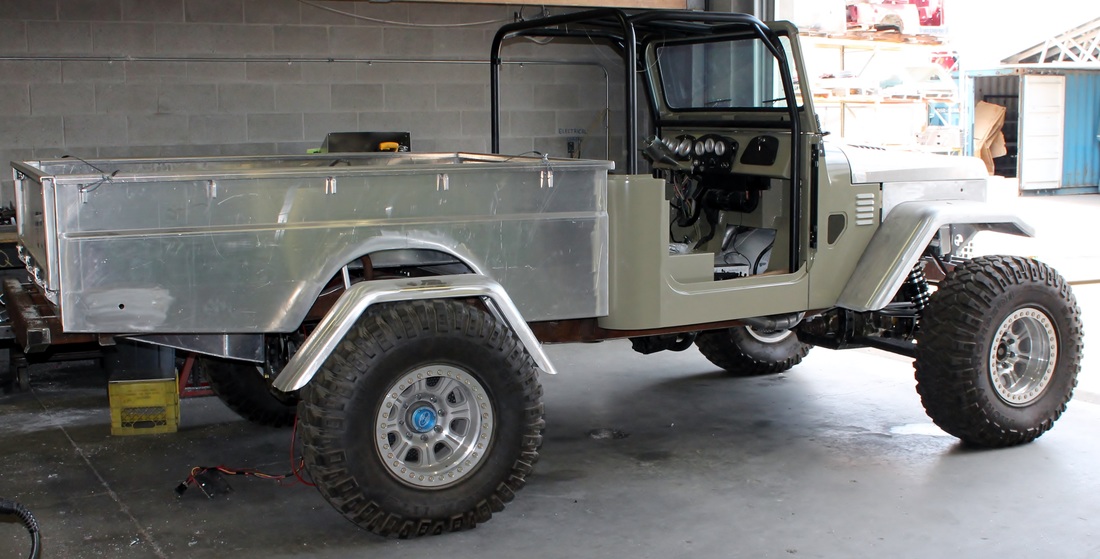
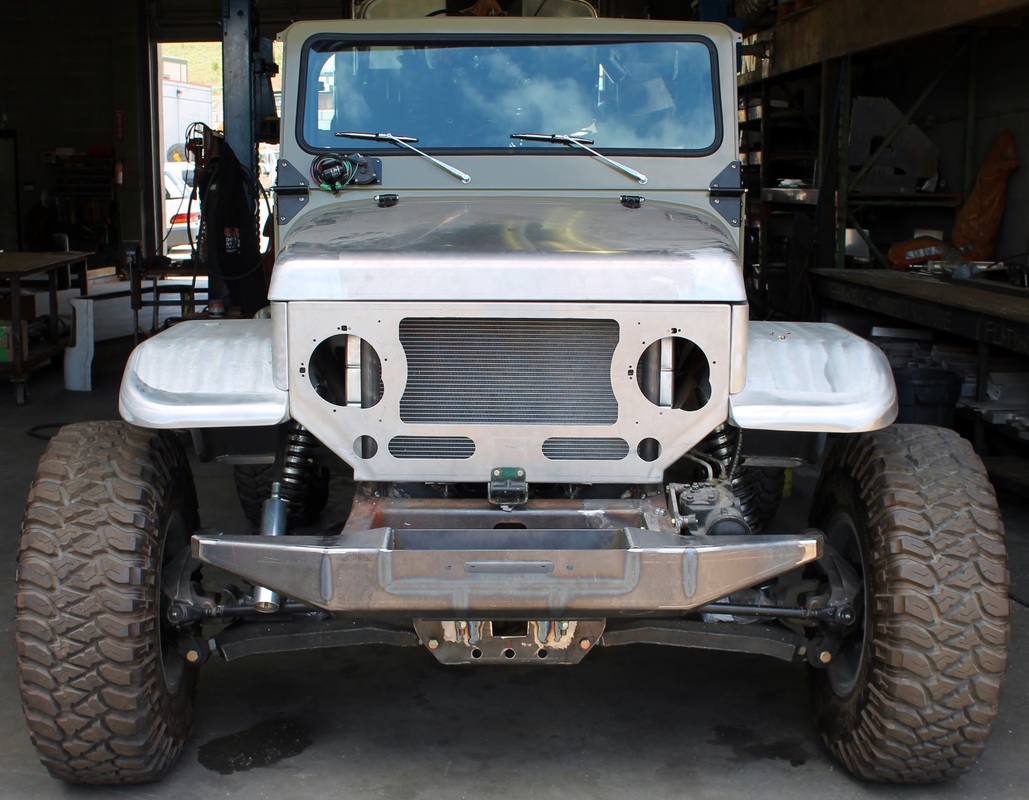
Since the cab and cowl are in place we can now focus on fitting the rest of our body parts starting with the box. We are using a box we make in house, it’s our #4501 1965-1978 FJ45 long box & tailgate. Of course we added our own custom touches to the box like duel fuel tanks, wider inner wheel wells for clearance of our shock hoops and an access panel to service the rear steer if needed in the future. Looks like we may need to rethink our wheel choice if we want to keep this truck street legal! Next to go on was our #4050 FJ45 Hard Top, another product that we make in house. In fact we make a fiberglass hard top for our 6” stretched FJ45 cab as well. The roll cage was also added into our cab. And as you can see we are going to be taking a set of our #4038 rear fender flares - large and making them into a custom set of rear wheel flares in an attempt to get more wheel coverage. Moving to the front clip, we make all the components you see here in house from the hood to the front bib which includes cut-outs for factory style headlights and mounting holes for the headlight bezel. We started with our #4023 front fenders – extra wide but looks like we are running into the same issue as on the rear, custom front fenders and different wheels should remedy this issue. This thing is actually starting to look like a truck, a truck with over 27” of clearance to the rocker panels. *Disclaimer, Aqualu only builds vehicles for in house abuse, we do not offer build services.*
1 Comment
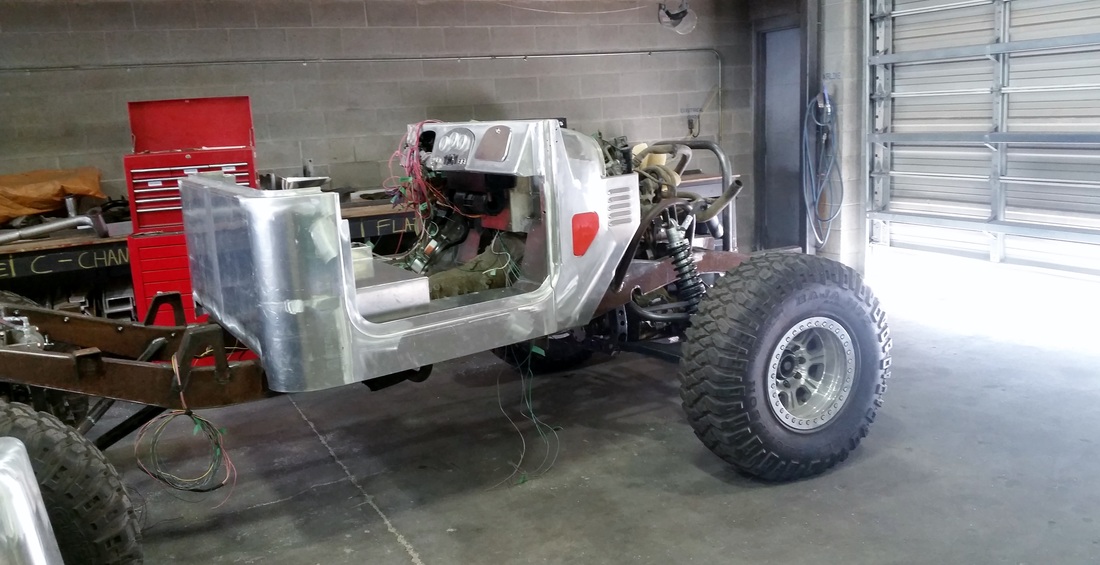
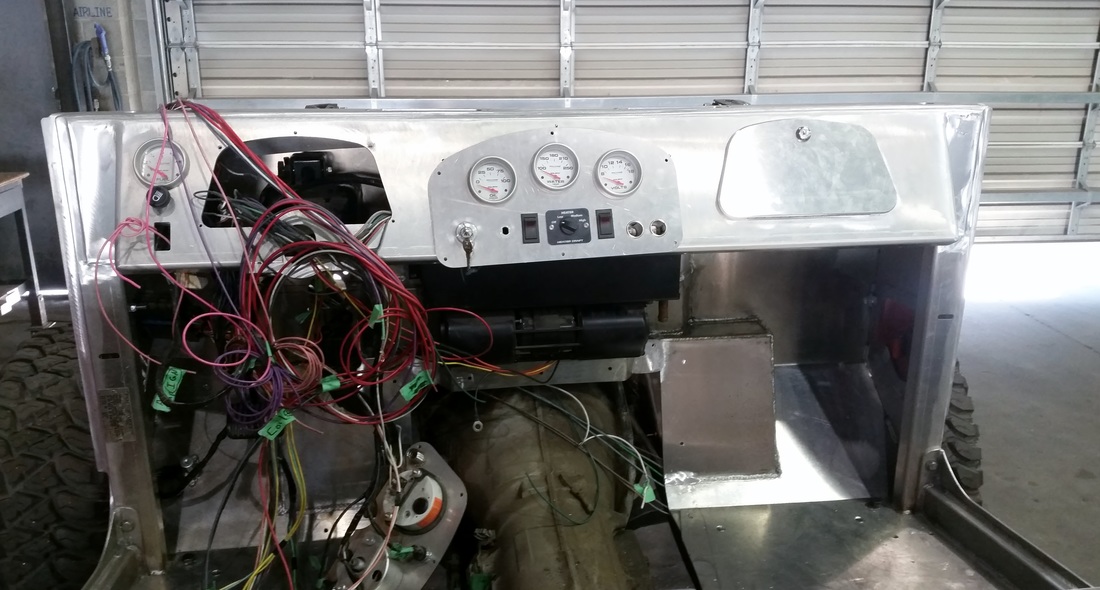
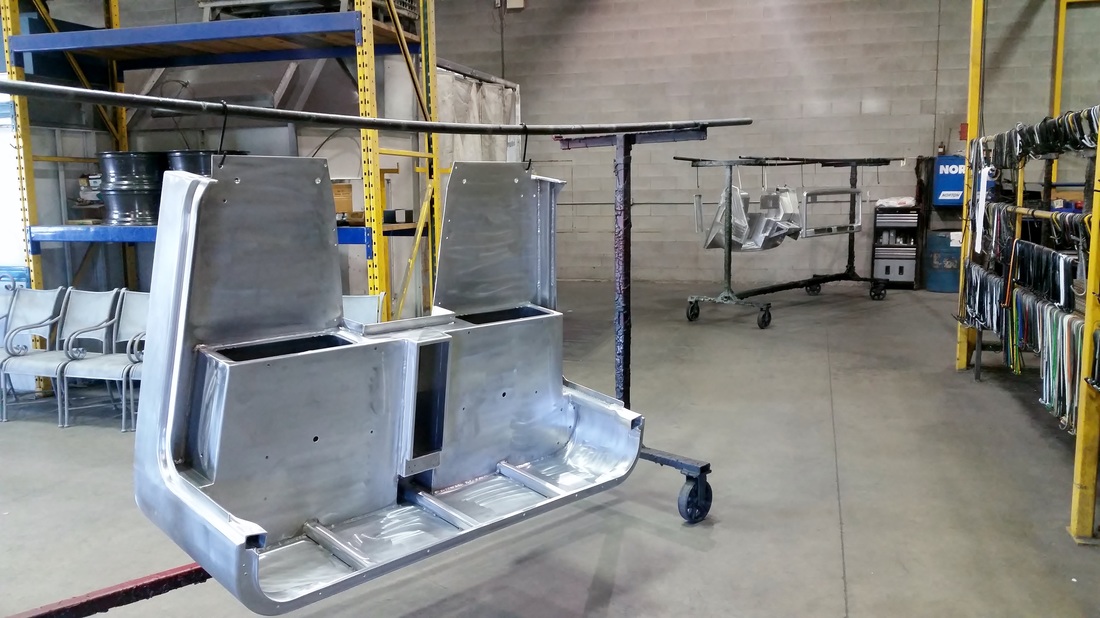
This week was busy, we are swamped filling out orders for aluminum FJ40 bodies, all kinds of jeep bodies and not to mention all the accompanying accessories. However, throughout the intense work schedule we still managed to find time to fit the cab onto the frame. It was straight forward and fit together seamlessly like jeep ownership and an empty bank account. This is to be expected when you manufacture both the bodies and the frames. When fitting the body there were a few custom touches we needed to work around like the disk style parking brake and the 4L80e tranny so there were a few times we had to take the cab back off for more clearance. Once the cab and cowl found its final resting spot we were able to start locating everything on the firewall like our Wilwood master cylinder, heater hose location and our battery box. On the dash we went with Auto meter gauges for a speedometer, RPM gauge and fuel level. In the center of the dash we have an oil pressure gauge, Volt meter and water temperature also from Auto meter. Ignition switch, headlights, wipers and various other switches were also installed. Once everything was in its place we then tore it all out and took the Cab off of the frame for the last time. We ground down certain welds and prepped the cab and cowl to send it off for powder coating. Remember, Aqualu highly recommends pre fitting all components prior to painting or powder coating. We took the cab and cowl next door to our friend Jason Fritz, General Manager of Protek Powder Coaters in Kelowna B.C. Jason and his crew completed any necessary prep work prior to loading it in the spray booth. We’re excited to see this start to get some color to it. *Disclaimer, Aqualu only builds vehicles for in house abuse, we do not offer build services.*
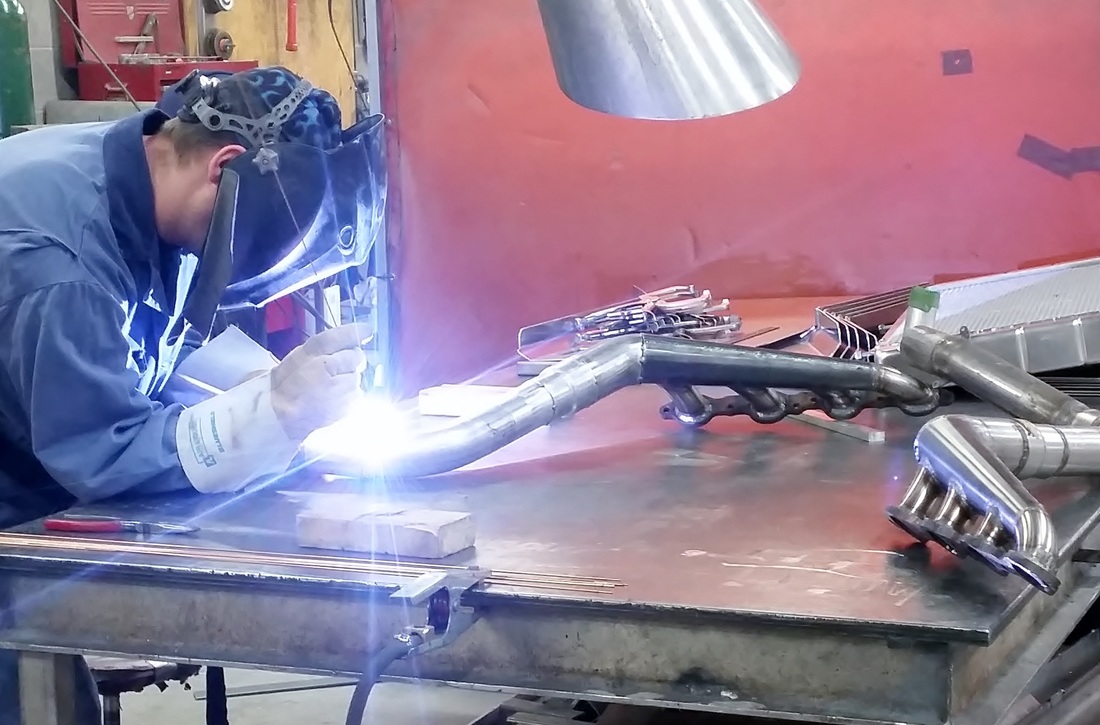
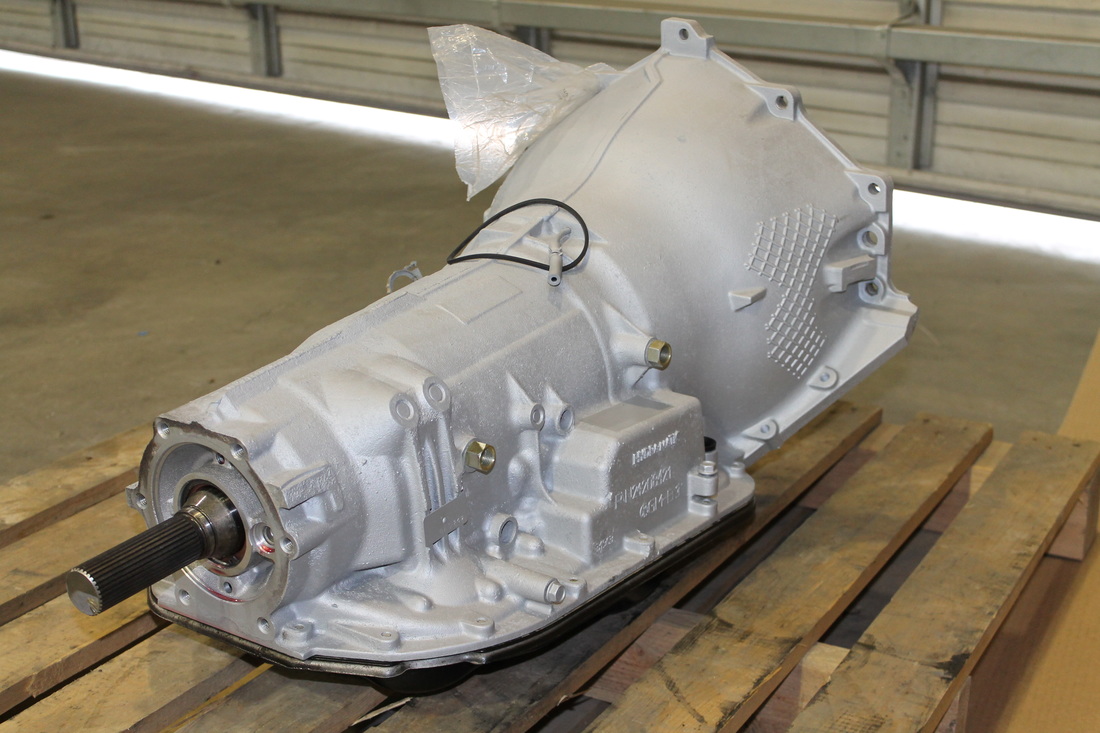
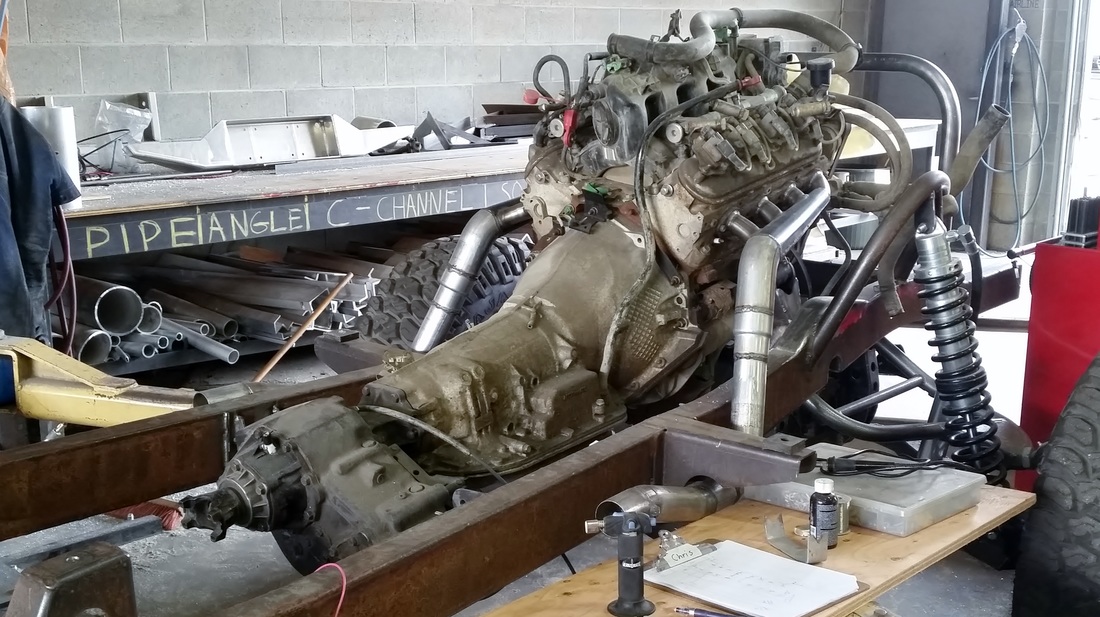
Powering our little project truck dubbed ‘The Shop Truck’ is a GM LQ4 6.0 litre engine. We snagged this motor for a song from a friend of ours who had a 2006 Chevy ¾ ton 4x4 truck sitting in his yard. It had higher mileage on it but it ran smooth and idled nicely so we couldn’t pass it up. The engine itself is bone stock and we plan on keeping it that way to keep up with the reliability we require out of this rig as we plan on making it a street-able monster. To go with all of our other custom built components on this rig, to clear the frame rails, our shock hoops and the firewall of the truck, we went ahead and fabbed up our own headers to ensure we get the clearance we need. Behind the 6.0 litre we also kept the stock GM 4L80e automatic tranny from the same donor vehicle. The 4L80e is a great 4 speed tranny with overdrive for everyday use as it is the evolutionary step up from the popular TH400. We weren’t as lucky with the tranny as we were with how well the engine ran, so we took it over to Ivar, owner of Kelowna Transmission and auto repair just down the street for a complete rebuild. When it comes to Transfer-case choices the options can be as vast and as deep as your pockets will allow. We thought about putting in an Atlas II like we did on our ‘Grey Cruiser’ but we feel that dollar for dollar, pound for pound, the best transfer case out there for our application was going to be the robust NP205. With a factory low gear of 1.96:1 it may not be the best set up for rock crawling right now but with a little aftermarket support we could get that down to a 3.00:1 low range, but for now, we will keep the factory gearing to maintain its street manners. A couple of custom mounts and a cross member later, the drivetrain is in and looks right at home in our ‘Shop Truck’. *Disclaimer, Aqualu only builds vehicles for in house abuse, we do not offer build services.*
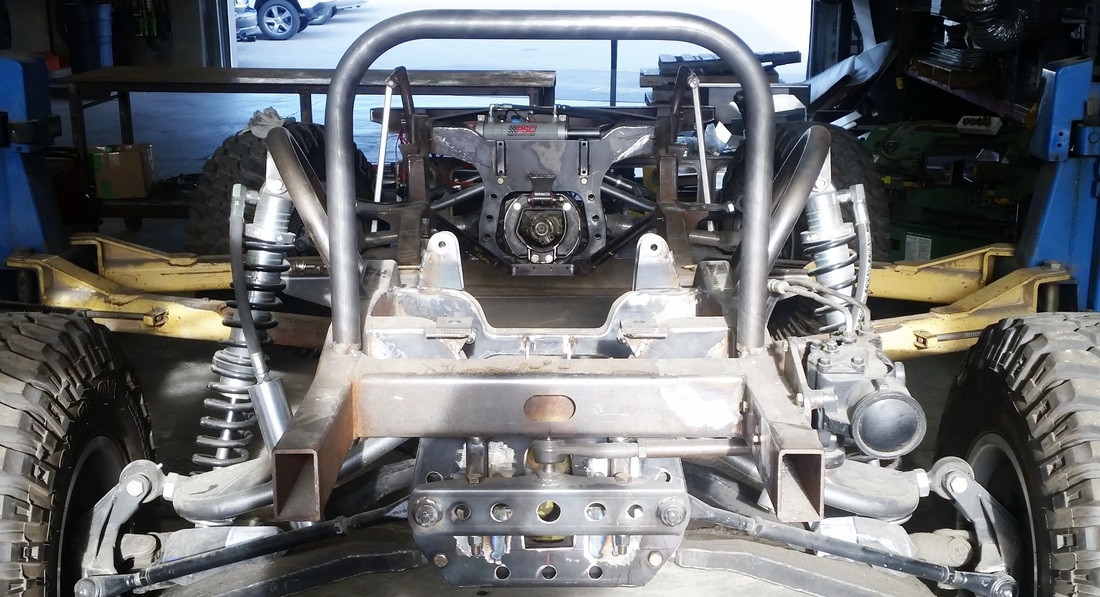
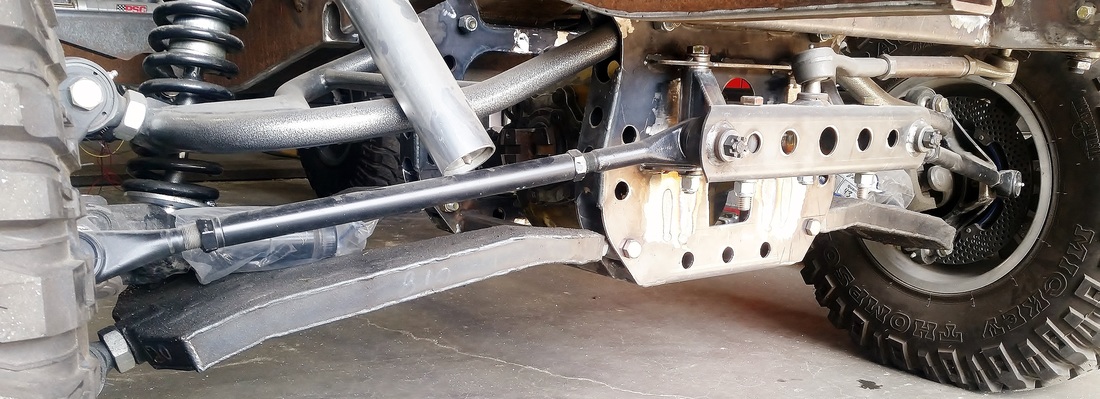
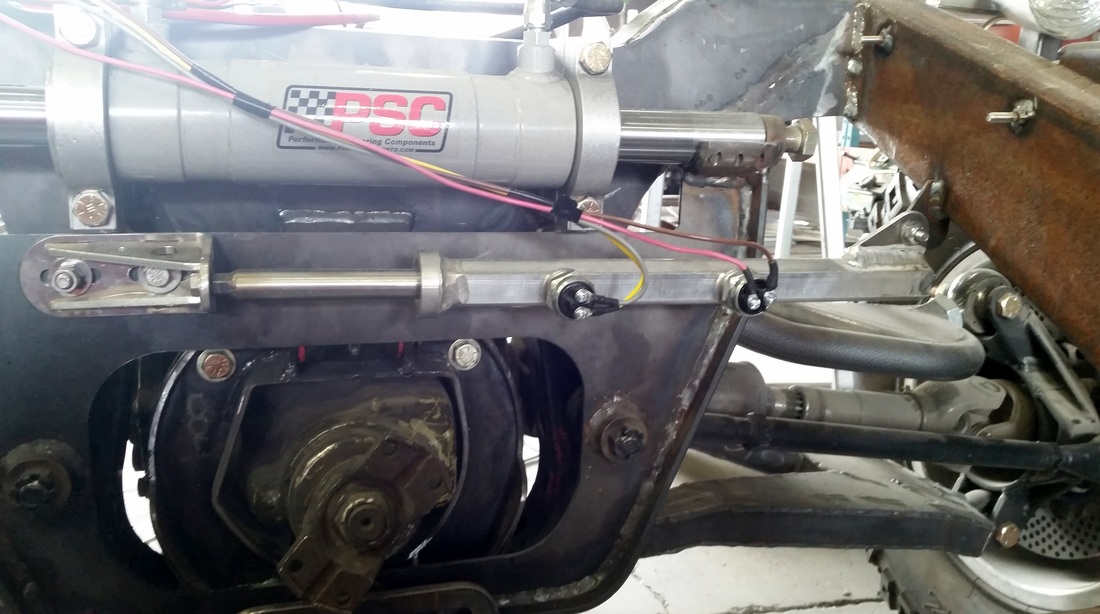
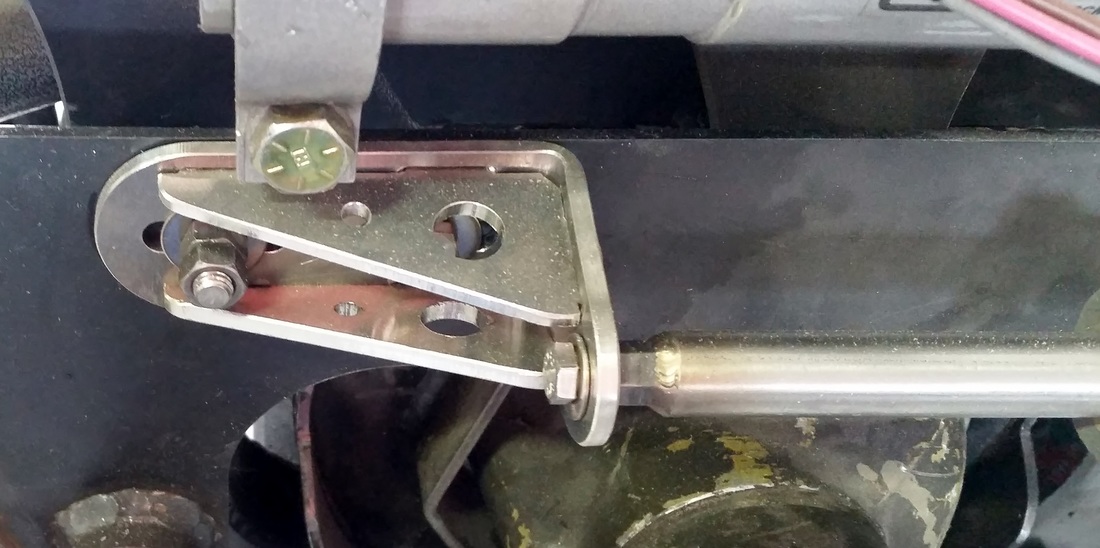
We put so much research and design into our front and rear steering components that we feel they are deserving of their own section in our blog about the ‘Shop Truck’ build. Stemming from our experience on our old ‘Grey Cruiser’ we knew that the steering had to be strong enough to be able to turn over sized tires, with a lot of low end torque pushing through deep snow with independent suspension. Nothing worse than breaking a tie rod end in hip deep snow so we came up with our own custom designed front and rear steering components that a little overkill but seems virtually indestructible. We started with your typical Saginaw power steering pump bolted onto the side of our custom frame. A pitman arm and drag link goes to the custom center tie rod plate which is attached to the frame with 2 over sized swivel joints. These swivel joints hold the center tie rod in place and allow the complete unit to swivel from side to side. Attached to the center tie rod plate are the actual inner and outer tie rod ends. This set up works great, even for dry steering 37” Mickey Thomson tires. The rear steer uses much of the same concept as the front steering components. As you can see we went with a PSC hydraulic steering system that is bolted to either side of the giant center tie rod plate. As the plate is pushed side to side, the inner and outer tie rods push and pull giving us our rear steer which turns independently of the front. Also shown is our self centering ram which is basically an automated ‘on / off’ switch for the hydraulic steering pump based on distance traveled. All components are designed, cut and fabricated in house. Aqualu Industries not only manufactures high quality aluminum bodies and accessories for Jeep, Land Cruiser and Samurai but we are also a full service aluminum fabrication shop with 2 CNC router tables. Definitely helps when designing your own components for custom projects like this. *Disclaimer, Aqualu only builds vehicle for in house abuse, we do not offer build services.* |
AuthorArchives
January 2017
Categories |
Serving the Off-Road Community since 1989.
Get Updates from Aqualu |
Aqualu Industries Inc.
|
Aqualu Industries Inc. | Content Copyright © 2024


 RSS Feed
